Whether you haven’t switched to using Gutenberg yet or you have and you want to learn some new tricks, you will definitely learn some useful ways to utilize this editor in this episode! I’ll be sharing 5 specific ways that food bloggers can use Gutenberg blocks to streamline your writing process and make a bigger impact with your blog posts.
Can’t listen to the episode? Read on for the transcript!
What is Gutenberg?
If you are not familiar with what Gutenberg is, it came out in early 2019, and basically, it was a new WordPress editor.
With the latest version of WordPress that came out at that time, they put out a new editor that changes the way you write your blog posts or you write content for a page on your website. The old way of editing a post is called the Classic Editor.
The biggest difference is that now instead of just having one block of content that is your entire post, every text area or image or other section is broken into what they call a block.
This can completely change the way that you edit your blog posts. For the most part, it’s just going to be getting used to finding where things are and how to do things on this new editor.
There are a lot of benefits that I am going to break down in this episode about why Gutenberg is versatile, and you should not be afraid of giving it time.
Benefits of using Gutenberg
Let’s talk about some of the benefits of using the Gutenberg editor, and then I will jump into the specific ways that you can use it for your food blog.
Flexibility
The first benefit is that there is a lot of flexibility with these blocks. With the Gutenberg editor, there are a lot of things that now are a part of a WordPress system.

Instead of needing to download a new plugin to be able to use a specific feature within your blog post, instead, there are so many standard widgets that are a part of the Gutenberg editor that are built right in and they work seamlessly for the most part within WordPress itself.
Resuable Blocks
The other huge benefit to using Gutenberg is that they have a feature where you can take a block and turn it into what’s called a reusable block.
This is a way for you to save and reuse common sections or blocks within your blog posts or be able to reuse styling of certain elements over and over again without having to recreate it every time for your blog post.
You can also use this feature to save a group of blocks. So you could create a sort of outline for your blog posts if you have an order of things that you do every time, and then you can just convert that into what they call a regular block and be able to fill out the content of your blog post. It’s a really good way to be able to create a more systemized approach to writing your blog post.
Let’s face it, most of the time you’re writing in sort of the same order of operations in your blog post every time. With a Gutenberg reusable block, you’re able to save that and then reuse it every time to save some time and some brainpower from rethinking about what it is that you usually do.
More design control
Another major benefit of using Gutenberg is that you have a lot more design control now without having to know how to code or be able to manipulate something on the coding side of your blog.
For example, it is really easy now to add a background color to a block, change the font size in a specific block, or change the font color without having to know how to do that with HTML code or without having to mess with it only being in a certain part of your blog post and not the overall styling of your website.
I was asking some questions in a Facebook group to get a sense of what people needed help with in terms of Gutenberg and someone said that they use a reusable block for anything that they don’t want to reformat constantly.
That is the perfect way to think about how to use these reusable blocks – really anything that you’re doing over and over again or even things that you’re doing for a specific type of recipe.

Another person gave the example of using a reusable block to explain how to measure flour. Something that might be specific to a specific set of blog posts of yours or something that you’re doing in every blog post is the perfect example of something you can use a Gutenberg reusable block form.
Think about the common pieces of all of your blog posts
You want to ask yourself what parts of your blog posts are you including every time. Is there a specific outline or order that you are writing your blog posts in? If so, then that can be something that you turn into an actual reusable block to make your process easier.
It could also be a specific section or heading like recipe substitutions or affiliate disclosures, or it can be somewhere where you add in a Pinterest image every time. Maybe before your recipe card. There are so many possibilities here.

I want to also make a quick disclaimer about reusable blocks because this is something that I saw come up in that Facebook group a lot.
The way that the reusable blocks work is when you just use it, it’s going to be in every blog post. So if you go in and change something in that reusable block, it’ll change in every single post you’ve used that block in.
Let’s give an example of the recipe substitutions. Say that you have a recipe substitution reusable block that you want to change every post because the ingredients in the posts are different.
You would use the reusable block and then you would convert it to a regular block, so it essentially is like a template that then you convert and you can change the text for just that one blog post instead of an all of your blog posts that are using that reusable block.
Do you have to use Gutenberg?
The next question that I saw asked a lot is do I have to use Gutenberg, and the short is not yet. They are saying that by 2021 the Classic Editor will be depreciated, and there will be a lot of time to learn this.
Eventually, the Classic Editor is going to stop working with plugins and themes that have now been updated to work with Gutenberg.
So the good news is that there’s a lot of time to experiment with this, but the bad potential news is that yes, eventually you will have to get used to this.
What happens when you remove the Classic Editor?
The other question I saw asked a lot was what happens if you are using the old classic editor and you get rid of it to move to Gutenberg? Well, your posts are going to remain in what they call a classic block.
It’s going to look the same as it always has, and you’ll have an option to go in and break the post apart into blocks when you go in and edit the old posts. You can either keep it as classic and still work within the classic editor within that blog post or you can convert it to blocks and then use those features.
The nice thing is if you want to experiment with using Gutenberg, you can do that, and then your old posts will remain the same for now until whatever they decide to do with that classic block down the road.
Don’t be afraid to try it
The biggest thing I want to tell you is do not be afraid to try this. It may take you a little bit longer the first few times that you are using the Gutenberg editor, but you get used to it and the more you use it and the more you get used to its power and capabilities, you’re going to like it.
A client example
I wanted to give you an example of a way that I used some reusable blocks in a recent client project.
I just wrapped up a new food blog that is just launching called Kneady Girl, and it’s a blog all about baking bread. Because she is used to using Gutenberg, we were able to just rely on Gutenberg for some of her styling within her posts.
I want to give you some ideas of what we did with her site to get your wheels turning about the ways that you might be able to use this type of block in your content.
For her blog, specifically with it being a bread baking blog, we created three different reusable blocks that she can use in her post.
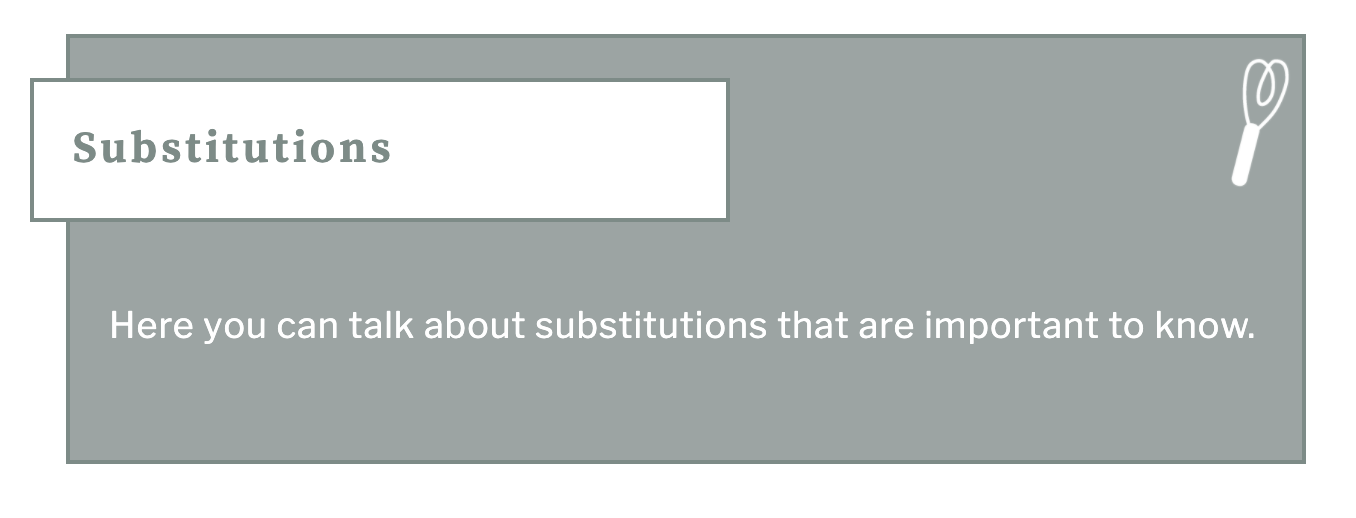
The first is a substitution block, so she can talk about if you don’t have this type of flour, use this, or if you don’t like this, you can omit it for some other ingredient.
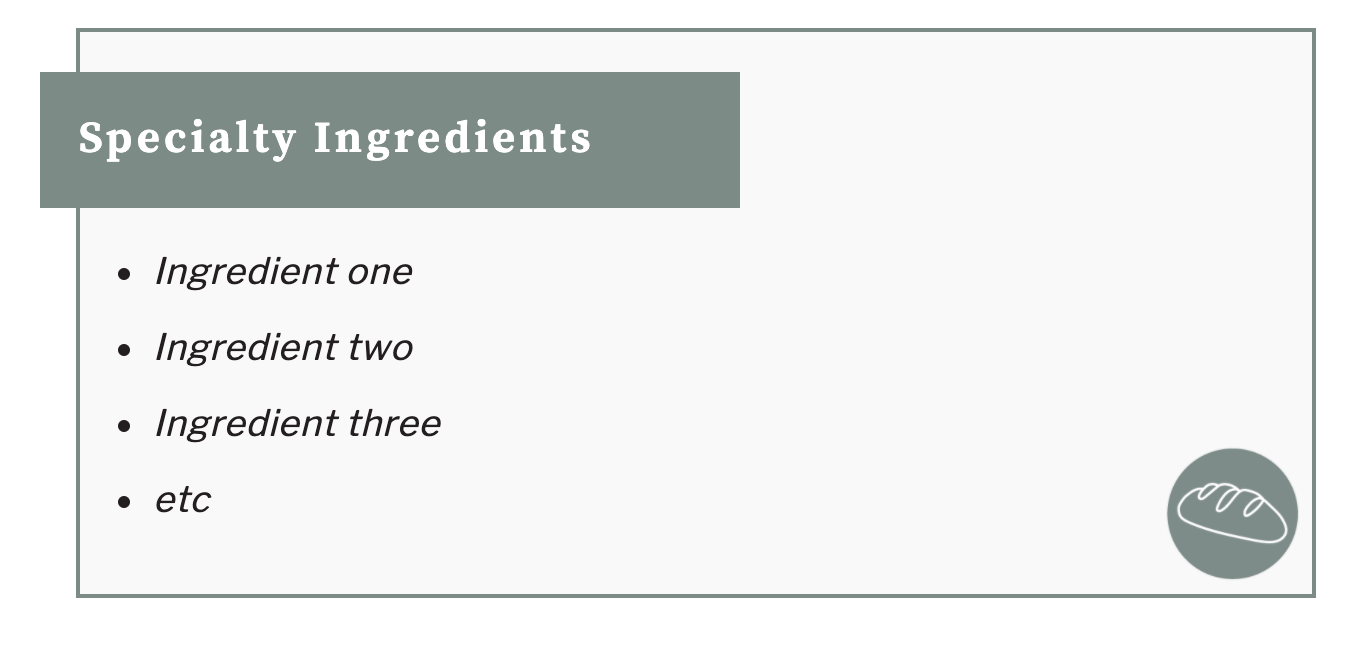
The next block that I designed for her was a block about specialty ingredients that she could get a more specific explanation about what they were, where they can find them.
If she had a specific type of yeast or a specific type of flower, she had a section where she could talk about that specific ingredient and why it’s important to the rest of the team.
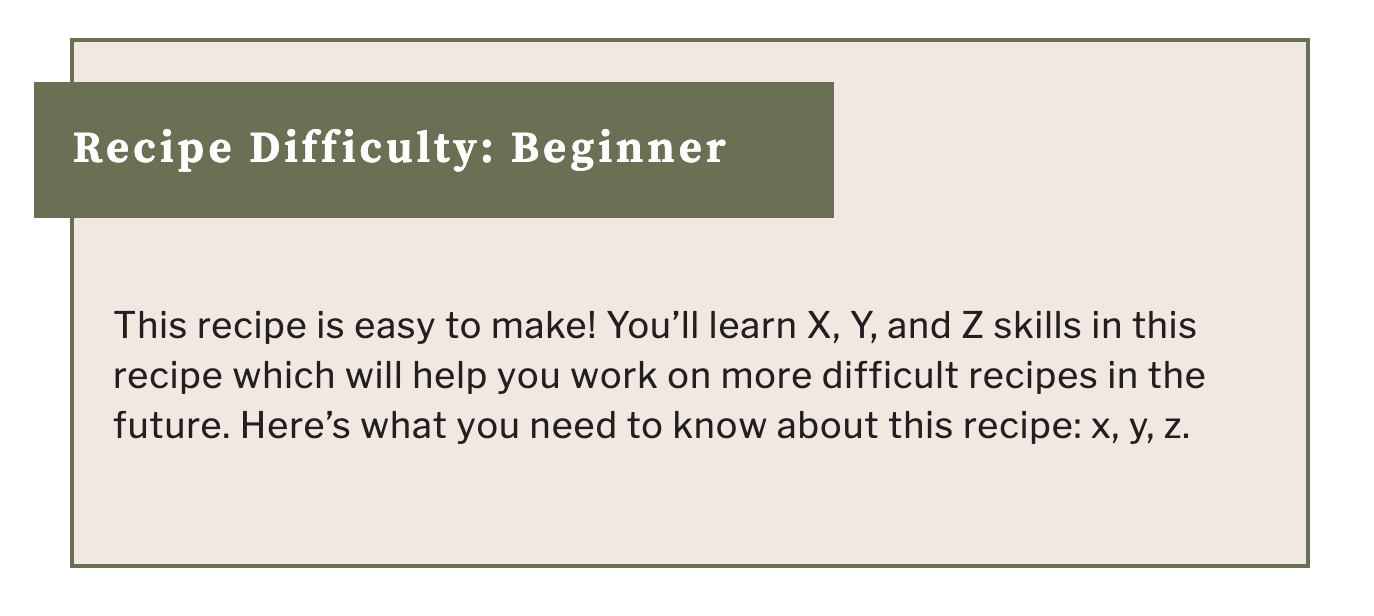
And then the last section that we included was a section about the difficulty level of the recipe.
When we were working through her strategy for her web design project and her brand as a whole, we decided that it would be really valuable for her readers to be at a glance, be able to tell whether or not a recipe met their skill level.
With bread baking, there’s a lot of skills that have to add to each other and eventually your skills grow and you can take on more challenging recipes.
She wanted to be able to call out some of those difficulty levels and what someone should need to know before trying this recipe. We added a Gutenberg block for that specifically.
In this case with her custom website project, I added those to reusable blocks that she can use in her blog post. But I also styled them on the back end of her site to make them stand out and be more branded.
Regardless of whether or not you have the ability to custom code something like that, you can still use these blocks to create a more streamlined process for your blog post.
5 ways food bloggers can use Gutenberg blocks
So let’s jump into five specific Gutenberg blocks that I think food bloggers can use. This doesn’t mean that every single food blogger should use these. I want to give you some ideas, and then I want you to figure out which of these ideas make the most sense for your audience and your brand.

Some of these are going to be completely different, even the same type of block, because of your brand messaging, who your audience is, and what you need to share with them in every blog post.
1. Affiliate Disclosures
This is a great way to do two things. One is to be able to automatically have an affiliate disclosure that you can just throw into a blog post, and you’ll get into the habit of doing that the more you do it.
The second is we all remember when Amazon changed their affiliate requirements in your disclosure and everyone had to scramble to go back and change those affiliate disclosures in old posts.
With using a reusable block, you would be able to just change the affiliate disclosure throughout your entire site in one click, which sounds like a dream to some of you who have hundreds of blog posts that you might’ve had to go back and fix.

This is an awesome Gutenberg block to use, and it’s a really simple one because you can just use a regular text block, but just have it be your affiliate disclosure that you add into every post before your first affiliate link.
2. Substitutions
Think through the common substitutions that you are always sharing in your blog posts or a section that you often have to share with your readers. This can be customized to both of the recipes and your audience.
This isn’t going to make sense for everyone because for some recipes, there just aren’t substitutions that you have to offer or some recipes can’t be made into a gluten-free or dairy-free recipe that they just are what they are.
If this applies to your brand, then this is an awesome way to use that part of Gutenberg
3. Pro Tips
This is the one where you can have a little bit of fun depending on what your brand is.
Consider what makes your brand unique and different and how you could apply this sort of idea of a pro tip to your audience.
Going back to my food blog, I started using something similar to this actually before Gutenberg was around, but I started including tips for sharing in each of my blog posts.
My brand for my food blog was a mix of building confidence in the kitchen and also sharing the food that you create with others. So I created a styling within my posts that I could reuse where I would share different ways that you could share this food with other people or how you could double recipes and things like that.
Really think about what you know innately that your audience does not, is it how to double the recipe or how to customize it based on your dietary restrictions.

Whatever that pro tip is for you and your audience, you can create a Gutenberg block that you can reuse to add that section to each of your posts.
4. You May Also Like
This may just be my favorite because I have tried to figure out a solution for this for a very long time for a lot of clients and my food blog.
With Gutenberg blocks, you can easily create a block for the, “you may also like” type of section where you are sharing related content to your recipe.
There are a few different ways that you can do this, but I just want to focus on the fact that Gutenberg makes this easy to do and to reuse it.
So if you are often sharing something like more chicken recipes or more no-bake desserts, it’s really easy to create a block once and then reuse it in posts. You could also create that, convert your reusable block to a regular block, and change it out.
At least you have the structure and the framework to use a related block but within your actual content and without using an additional plugin, which is an awesome part of the block editor.
If you’re looking for a more visual way to do this, that is more typical to what the related posts types of plugins used to do. You can look into the plugin called Atomic Blocks, which just adds some extra block options into Gutenberg and one of them is a way to display posts within a specific category.
That’s a really easy way to be able to showcase the actual image and blog post title for a variety of categories or posts within your blog post itself. I like that plugin, and I’ve been using that on some of my more recent custom sites.
5. Group blocks you always use together
I’ve mentioned a couple of examples of this already, but I want you to think through the outline that you usually have in your blog post, the order that you share information.
Most of us have some sort of normal order that we follow, and you can create a set of blocks and then group them so that you can just add that group directly into your post and then change out the content.

I do this for the blog posts that we write that go with the podcast episodes. We have a podcast intro block, placeholders for images, embedding the audio, the subscription form to get all the podcast updates, and then another image.
I don’t have to try to remember that order every time or go open another blog post to see what we did last time. I can throw that group right in there and then it’s already set. All I have to do is just change out the content.
It also works for things like “Share This on Pinterest” where you might have a heading and then your Pinterest image or any other call to action buttons that you might have within a post.
I hope that this episode gives you some ideas of different ways that you can utilize this editor, and I hope it shows you that there are some cool things that you can do with it if you haven’t switched over yet.
If you haven’t switched over, give yourself some extra time to get a blog post done. Don’t switch over for a sponsored post or something that has a tight timeline, give yourself an extra day or two to get used to it.
It is pretty intuitive and you will pick it up quickly, but if you run into any questions or if there are any lingering questions about Gutenberg in general, feel free to reach out.
Ready to go all in with Gutenberg?
My course, Simplify With Gutenberg, covers everything you need to know about using Gutenberg, plus how you can use it to streamline your blog post process and cut hours out of your content creation each week.


Leave a Comment