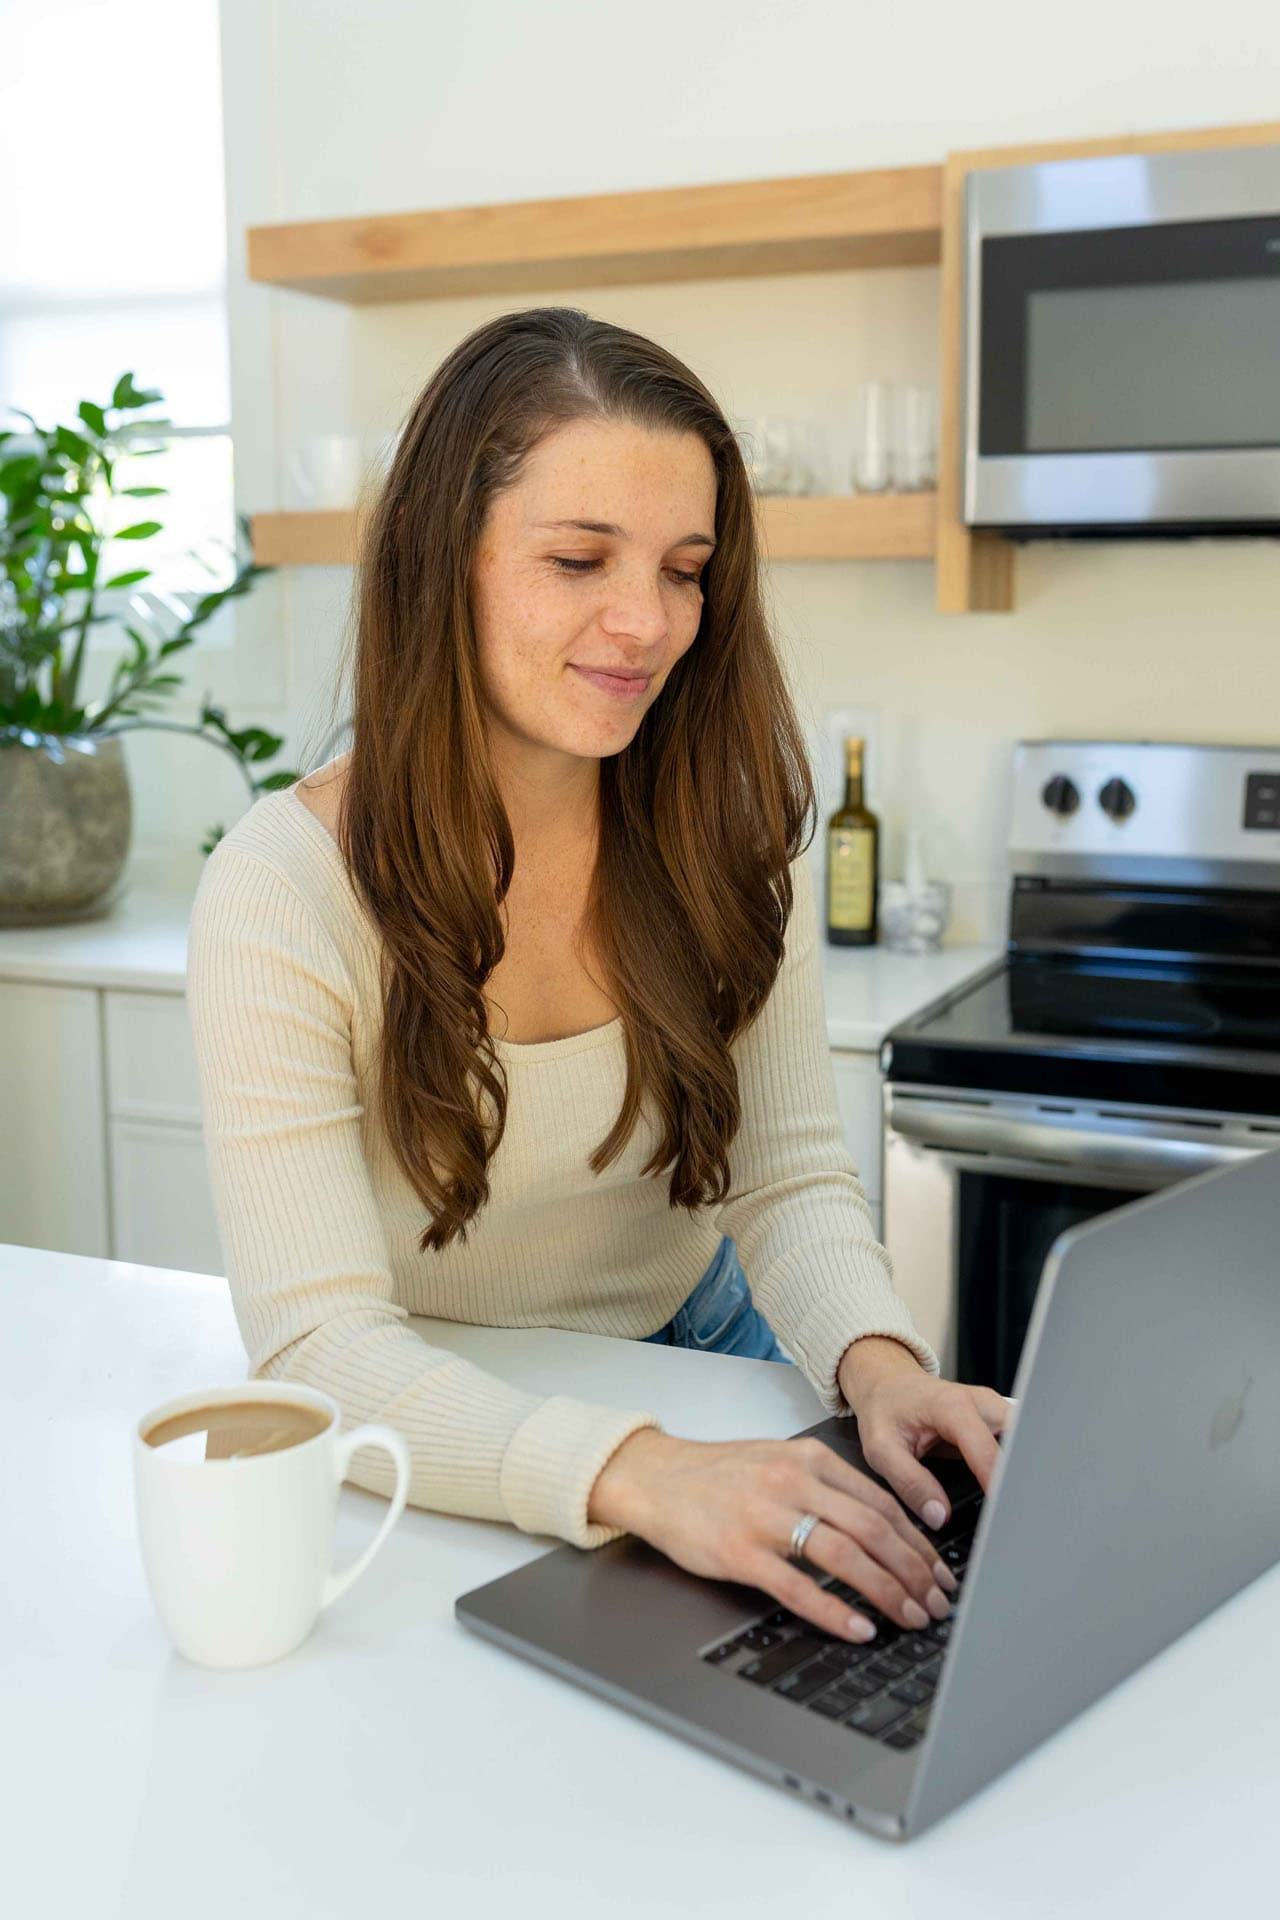
Ever feel like you’re spending way too much time styling and editing your food photos, only to end up with images you aren’t thrilled with? Today I’m talking with Melodee Fiske from Pretty Focused, and she’s completely changing the game when it comes to food photography for bloggers.
You’ll learn if you’re spending too much time editing photos, overthinking your styling and she’ll teach you how to shift your mindset from stressful photoshoots to streamlined. If you’ve been overthinking your food photography or feeling stuck in a rut, this conversation is going to be so helpful for you.

The Recipe is Always the Hero
One of the most important mindset shifts Melodee shared is remembering that your recipe should always be the star of the show. It sounds obvious, but it’s surprisingly easy to lose sight of this fundamental principle.
“People are not coming to your blog to see what bowl you used,” Melodee explains. “All of those styling pieces should support the recipe, not distract from it.”
This means:
- Your styling supplies should complement, not compete with, the food
- The recipe itself should fill the frame of your camera
- Every element in your photo should have a purpose
Key Takeaway: Before adding any styling element, ask yourself: “Does this support my recipe or take away from it?”
Simplify Your Styling Approach
Ingredient Shots That Actually Work
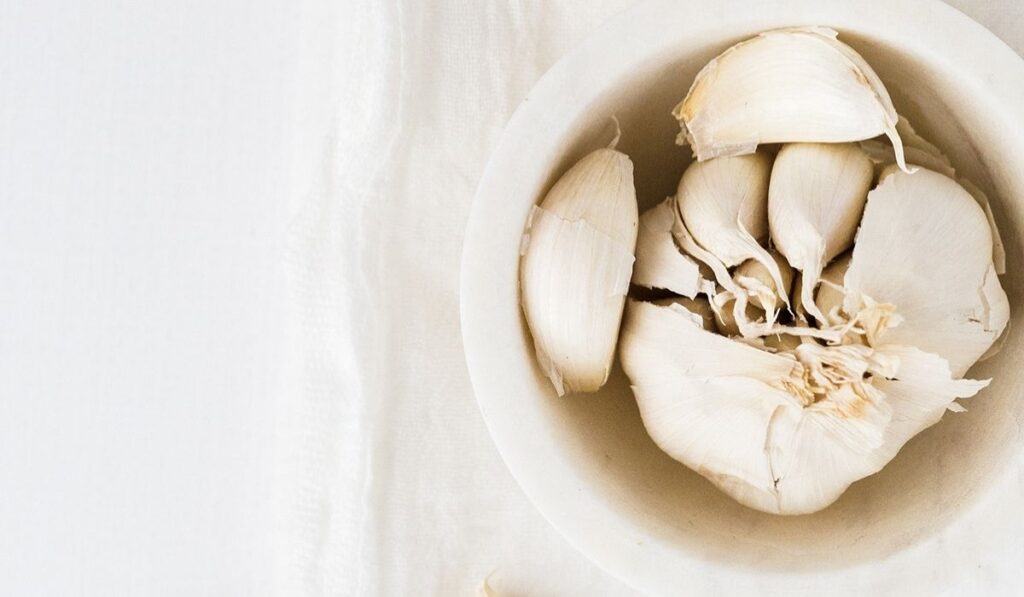
Ingredient shots became popular around 2020, but many bloggers approach them without a clear strategy. Here’s Melodee’s formula for ingredient shots that enhance your post:
- Count and contain: Count your ingredients, then choose bowls to contain them
- Mix textures and shapes: Use bowls with different textures and shapes rather than matching sets
- Include your cooking tools: If you’re making a sheet pan meal, contain all ingredients on the actual sheet pan you’ll use
Pro Tip: Shop at places like Magnolia Market, Hearth & Hand from Target, or World Market for neutral bowls with interesting textures.
Process Shots: Keep It Simple or Style Intentionally
Process shots are currently in a state of transition. You have two solid approaches:
Option 1: The Action Bowl Only Simply photograph the mixing bowl or cooking vessel with the current step—no additional styling elements.
Option 2: Styled Process Shots Include ingredients that come next in the recipe, but make sure everything makes logical sense. If your next step uses eggs, having eggs in the frame makes sense. Having random garnishes doesn’t.
Critical Rule: If you’re making bread, use the dough hook attachment in your photo, not the paddle or whisk. These details matter more than you think!
Master the “Oven to Served” Method
This is where Melodee approach really shines. Instead of randomly shooting your finished dish, follow this systematic progression:
1. Straight from the Oven
- Photograph the dish in its cooking vessel (casserole dish, sheet pan, etc.)
- Shoot both overhead and at a 45-degree angle
- Use both side lighting and backlighting for variety
2. The Money Shot
- Capture the “scoop missing” shot for casseroles
- Get the cheese pull for mac and cheese
- Show the sauce drizzle for pot roast
3. Plated and Served
- Photograph individual servings
- Use appropriate dishes (shallow bowls for mac and cheese, not dinner plates)
- Set the scene like a family dinner table
Why This Works: This method naturally creates variety in your images while ensuring you capture all the essential shots that will help market your recipe effectively.
Lighting and Composition Trump Styling
Here’s something that might surprise you: you can have beautiful styling and the perfect color palette, but if your lighting and composition are off, none of it matters.
Lighting Essentials
- Side lighting: The most versatile and commonly used
- Backlighting: Really makes your food shine and highlights textures
- Consistency: Master your lighting setup so editing becomes minimal
Composition Guidelines
- Fill the frame with your food
- Consider how the image will be cropped for different uses
- Think about whether you need horizontal, square, or vertical orientations
Game-Changing Tip: If you’re spending more than 15-30 minutes editing a session, your photos aren’t right in-camera. Focus on getting your lighting and camera settings dialed in during the shoot.
The Tutorial-Based Photography Mindset
Melodee introduced a concept that completely reframes food photography: “tutorial-based food photography.” This means you’re teaching people how to make something, not just creating pretty pictures.
With this mindset:
- Every photo should add instructional value
- You’ll naturally eliminate unnecessary styling
- Your images will better serve your readers’ needs
Ask yourself: “Does this photo teach my reader something about making this recipe?”
Streamline Your Photo Shoot Process
Planning is Everything
- Read your recipe as if you’re photographing it for the first time
- Research the money shots for that specific recipe type
- Create a shot list before you start cooking
- Prep your props and pull out all styling elements beforehand
Batching Tips
If you’re shooting multiple recipes in one session:
- Lay out all ingredients for ingredient shots first
- Shoot all ingredient photos before starting any cooking
- Consider tethering to Lightroom with presets for automatic editing
- Have help with cleanup so you can focus on photography
Know When to Stop
Don’t waste time on shots that won’t add value. That perfect “pour shot” might look cool, but if it doesn’t serve your recipe or readers, skip it and move on.
Common Angles and When to Use Them
Overhead Shots
Perfect for: Ingredient layouts, flat items like pizza or cookies, casseroles straight from the oven
45-Degree Angle
Perfect for: Most hero shots, showing depth and dimension, individual servings
Side Angles
Perfect for: Stacked cookies, showing layers in cakes, demonstrating mixing techniques with clear bowls
Remember: Not every recipe needs every angle. A salad doesn’t need a side angle, and you don’t need to stack muffins or cupcakes.
The Value is in the Variety
Think beyond just your blog post when shooting. You need images for:
- Pinterest pins (4-5 different pins per post)
- Social media posts
- Recipe cards
- Email newsletters
This is why the “oven to served” method is so powerful—it naturally creates the variety you need to properly market your recipes across all platforms.
Your Next Steps
Ready to transform your food photography process? Here’s how to get started:
- Plan your next shoot using the “oven to served” method
- Create a shot list before you start cooking
- Focus on lighting and getting your photos right in-camera
- Simplify your styling and remember the recipe is the hero
- Time yourself and see if you can reduce both shooting and editing time
Remember, great food photography isn’t about having the fanciest equipment or the most elaborate styling. It’s about understanding your purpose, planning your approach, and executing with intention.
Ready to Take Your Photography to the Next Level?
If you’re serious about improving your food photography, Melodee offers a comprehensive course specifically designed for food bloggers. Unlike generic photography courses, this program focuses on the unique needs of food bloggers, teaching you how to create tutorial-based food photography that serves both your readers and your business goals.
The course covers everything we discussed today and more: camera settings, composition for food blogs, the complete “oven to served” method, and efficient editing techniques that will cut your post-processing time dramatically.
Your photos are often the first impression potential readers have of your recipes. Make sure they’re telling the right story about your food and your brand.
Call to Action
What’s your biggest food photography challenge right now? Share in the comments below, and let’s help each other create more stunning, efficient photo shoots. If this post helped you rethink your photography approach, share it with a fellow food blogger who might benefit from these tips!

Melodee Fiske is a food photography educator and founder of Pretty Focused, where she has helped thousands turn their passion into profitable, work-from-home businesses. As a former teacher and full-time photographer, she built her own dream career and now teaches others how to do the same. They have recently launched a brand-new edition of Pretty Focused and this time, its built specifically for food bloggers. It’s designed to help bloggers take better photos of their own recipes using the camera they already have. Whether they just getting started or have been blogging for years, they are going to love hearing how this new program can help them save time, build confidence, and elevate their content.
ready to take your food blog to the next level?
We work with food bloggers looking to stand out of the crowd through custom brand and website design.
topics
Browse through some of the topics we discuss on the blog, then click over to see all the posts within that topic!
hey friend, i’m madison
Food blogger turned web designer
I’ve been where you are. Growing fast, feeling overwhelmed by the tech side of things, and realizing that somewhere between hitting 100k sessions and launching that new revenue stream, the foundations of your business got left behind.
I started out as a food blogger, so I get it. The constant juggling. The feeling that your site doesn’t match who you’ve become. The frustration of working way too hard while your brand and tech hold you back.
That’s why I created Grace + Vine Studios—to help monetized food bloggers like you finally catch up. Whether it’s your branding, your website, or just figuring out what the heck comes next, I’m here to help you build a business that reflects where you are now and actually improves your life instead of consuming it.
